(十二)springboot实战——SSE服务推送事件案例实现
前言
SSE(Server-Sent Events,服务器推送事件)是一种基于HTTP协议的服务器推送技术。它允许服务器向客户端发送异步的、无限长的数据流,而无需客户端不断地轮询或发起请求。这种技术可以用来实现实时通信、在线聊天、即时更新等功能。使用SSE时,客户端通过简单的HTTP请求与服务器建立连接,并在连接保持打开的情况下接收服务器发送的数据。服务器可以随时向客户端发送新的数据(以文本格式),并在数据前面添加特定的标识符,以便客户端能够正确地解析数据。
相较于WebSocket的服务推送,SSE更为轻量级。SSE在客户端与服务器之间建立一个持久的HTTP连接,可以保持连接打开,并通过该连接发送异步的、无限长的数据流。而WebSocket则是一种全双工的协议,支持双向通信,客户端和服务器之间可以直接发送消息。SSE使用文本格式传输数据,并在数据前添加特定的标识符,以便客户端能够正确地解析数据;WebSocket则支持文本和二进制格式的数据传输。由于SSE基于HTTP协议,每次请求和响应都需要经过完整的HTTP协议栈,因此可能存在一定的延迟。而WebSocket则可以更快地建立连接,从而实现更实时的通信。SSE的支持性比WebSocket更广泛,因为它基于标准的HTTP协议,并不需要特殊的服务器支持。而WebSocket则需要WebSocket服务器的支持,因此在某些环境下可能存在兼容性问题。
本节内容主要介绍传统的springboot web项目与响应式springboot webflux项目下如何实现一个简单的SSE服务。
正文
springboot web项目实现SSE案例
①创建一个SSE的接口SseController实现服务数据推送
package com.ht.atp.plat.controller;import com.ht.atp.plat.common.SseEmitterUTF8;
import org.springframework.http.MediaType;
import org.springframework.scheduling.annotation.Scheduled;
import org.springframework.stereotype.Controller;
import org.springframework.web.bind.annotation.GetMapping;
import org.springframework.web.bind.annotation.RequestMapping;
import org.springframework.web.bind.annotation.RestController;
import org.springframework.web.servlet.mvc.method.annotation.SseEmitter;import java.io.IOException;
import java.nio.charset.StandardCharsets;
import java.util.ArrayList;
import java.util.List;@Controller
@RequestMapping("/sse")
public class SseController {private int count_down_sec = 2 * 60 * 60;private List<SseEmitterUTF8> emitters = new ArrayList<>();/*** 每秒执行一次**/@Scheduled(fixedDelay = 1000)public void sendMessage() {// 获取要发送的消息String message = getCountDownSec();byte[] bytes = message.getBytes(StandardCharsets.UTF_8);for (SseEmitter emitter : emitters) {try {emitter.send(bytes, MediaType.TEXT_PLAIN);} catch (Exception e) {emitter.completeWithError(e);}}}@GetMapping(path = "/countDown", produces = MediaType.TEXT_EVENT_STREAM_VALUE)public SseEmitterUTF8 sse() throws IOException {SseEmitterUTF8 emitter = new SseEmitterUTF8(0L);emitter.send("连接成功");emitter.onCompletion(() -> emitters.remove(emitter));emitter.onTimeout(() -> emitters.remove(emitter));emitters.add(emitter);return emitter;}private String getCountDownSec() {if (count_down_sec > 0) {int h = count_down_sec / (60 * 60);int m = (count_down_sec % (60 * 60)) / 60;int s = (count_down_sec % (60 * 60)) % 60;count_down_sec--;return "活动倒计时:" + h + " 小时 " + m + " 分钟 " + s + " 秒";}return "活动倒计时:0 小时 0 分钟 0 秒";}
}
② SSE服务说明,通过创建一个MediaType.TEXT_EVENT_STREAM_VALUE类型的HTTP请求,向客户端推送服务数据

③创建一个SseEmitterUTF8类继承SseEmitter,解决推送中文消息的服务乱码问题
package com.ht.atp.plat.common;import org.springframework.http.HttpHeaders;
import org.springframework.http.MediaType;
import org.springframework.http.server.ServerHttpResponse;
import org.springframework.web.servlet.mvc.method.annotation.SseEmitter;import java.nio.charset.StandardCharsets;public class SseEmitterUTF8 extends SseEmitter {public SseEmitterUTF8(Long timeout) {super(timeout);}@Overrideprotected void extendResponse(ServerHttpResponse outputMessage) {super.extendResponse(outputMessage);HttpHeaders headers = outputMessage.getHeaders();headers.setContentType(new MediaType(MediaType.TEXT_EVENT_STREAM, StandardCharsets.UTF_8));}
}
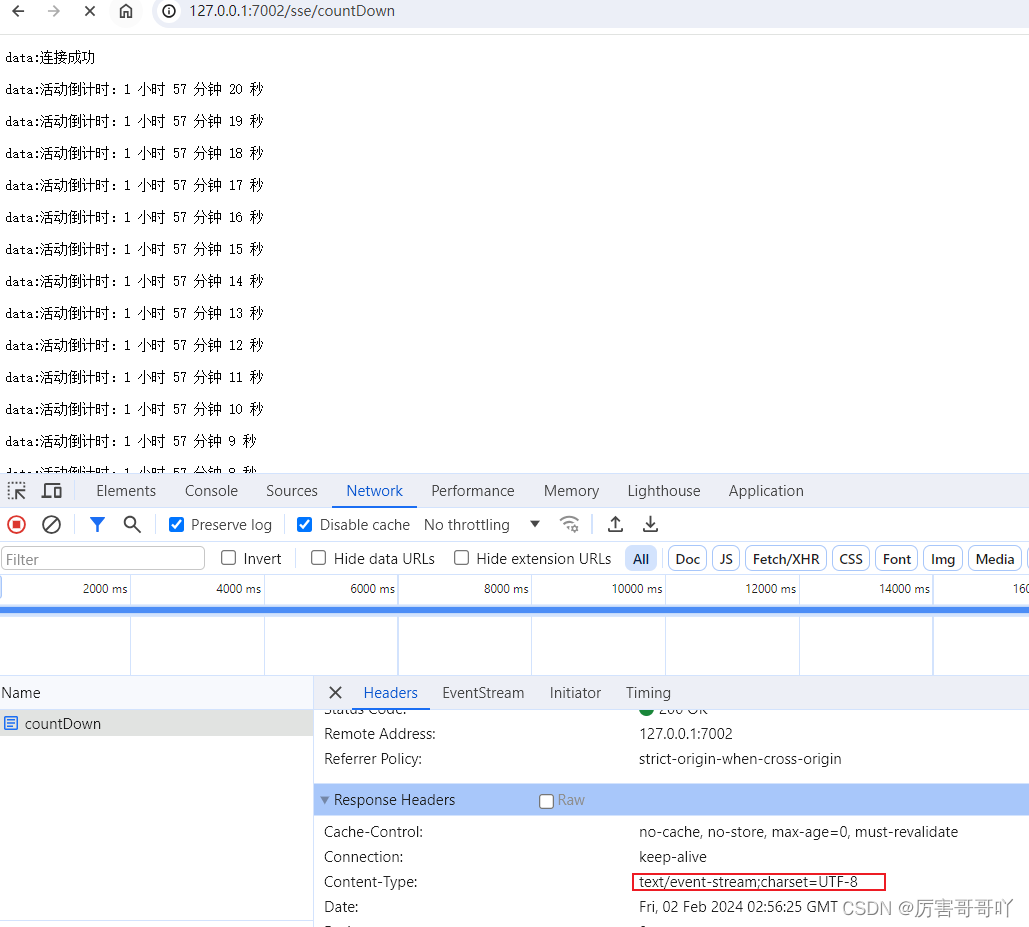
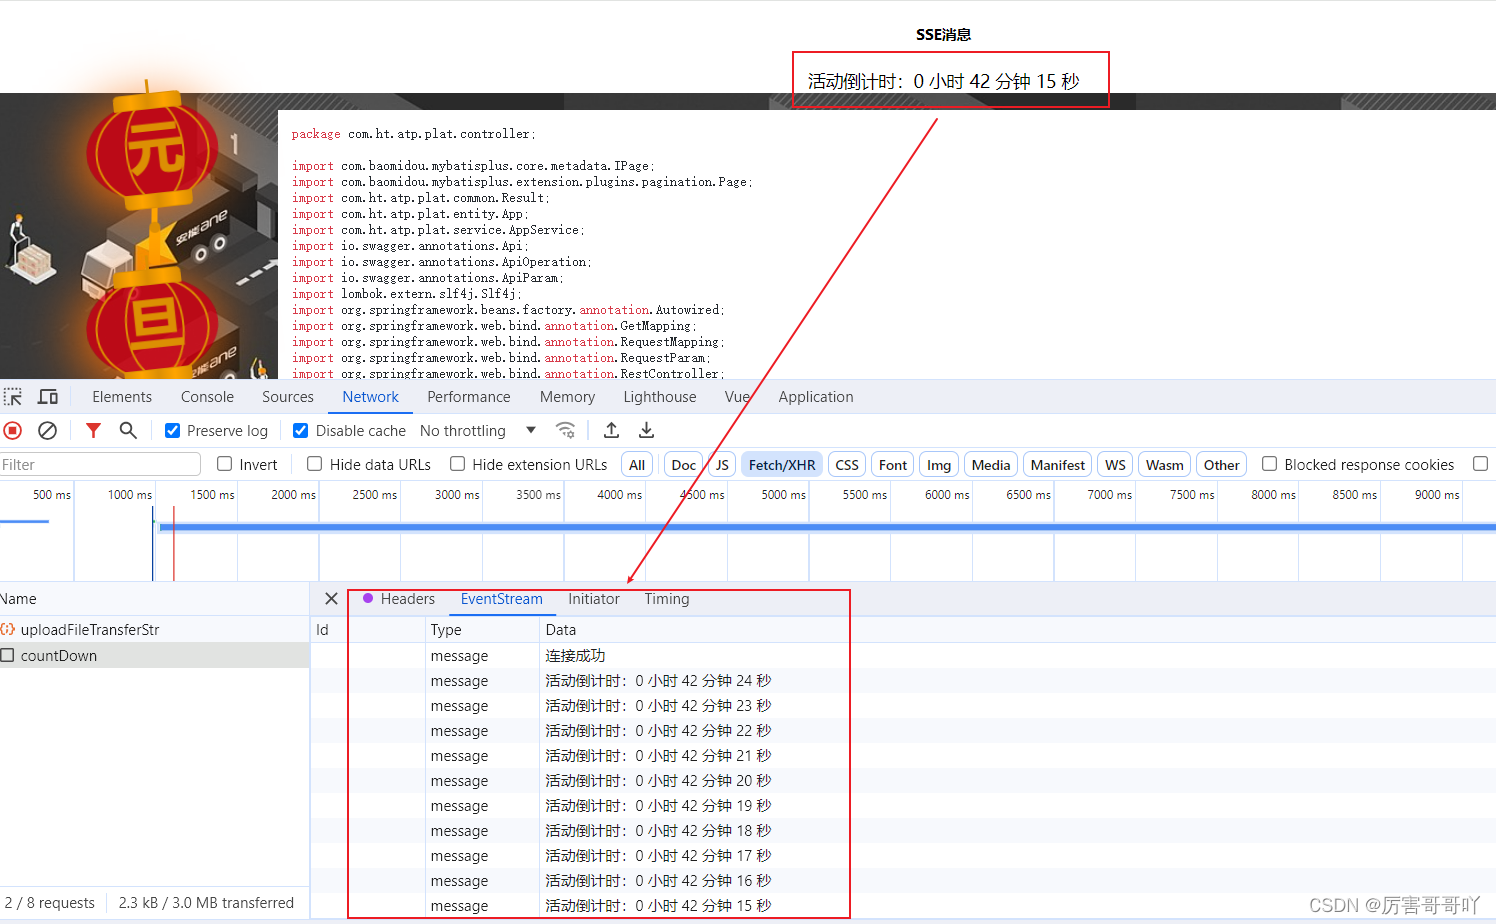
④ 启动项目,通过接口访问该sse服务
⑤创建一个vue项目,安装vue-sse组件消费推送的消息
命令:
npm i vue-sse -S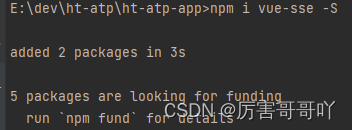
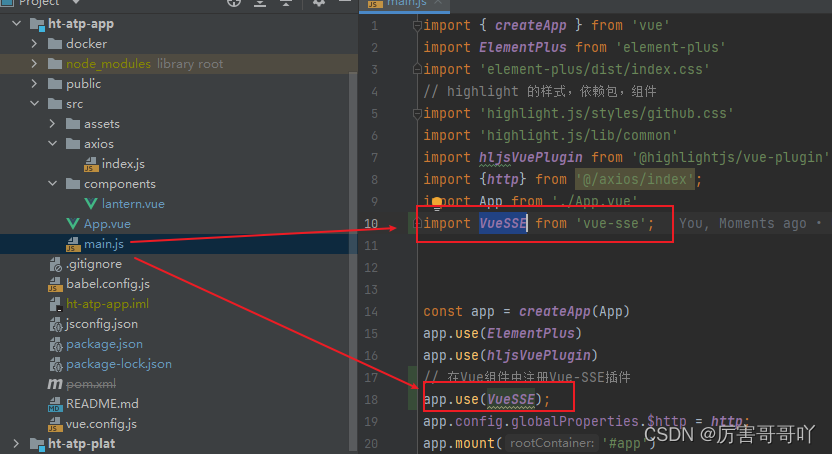
⑥在main.js中引入vue-sse并注册为一个全局插件
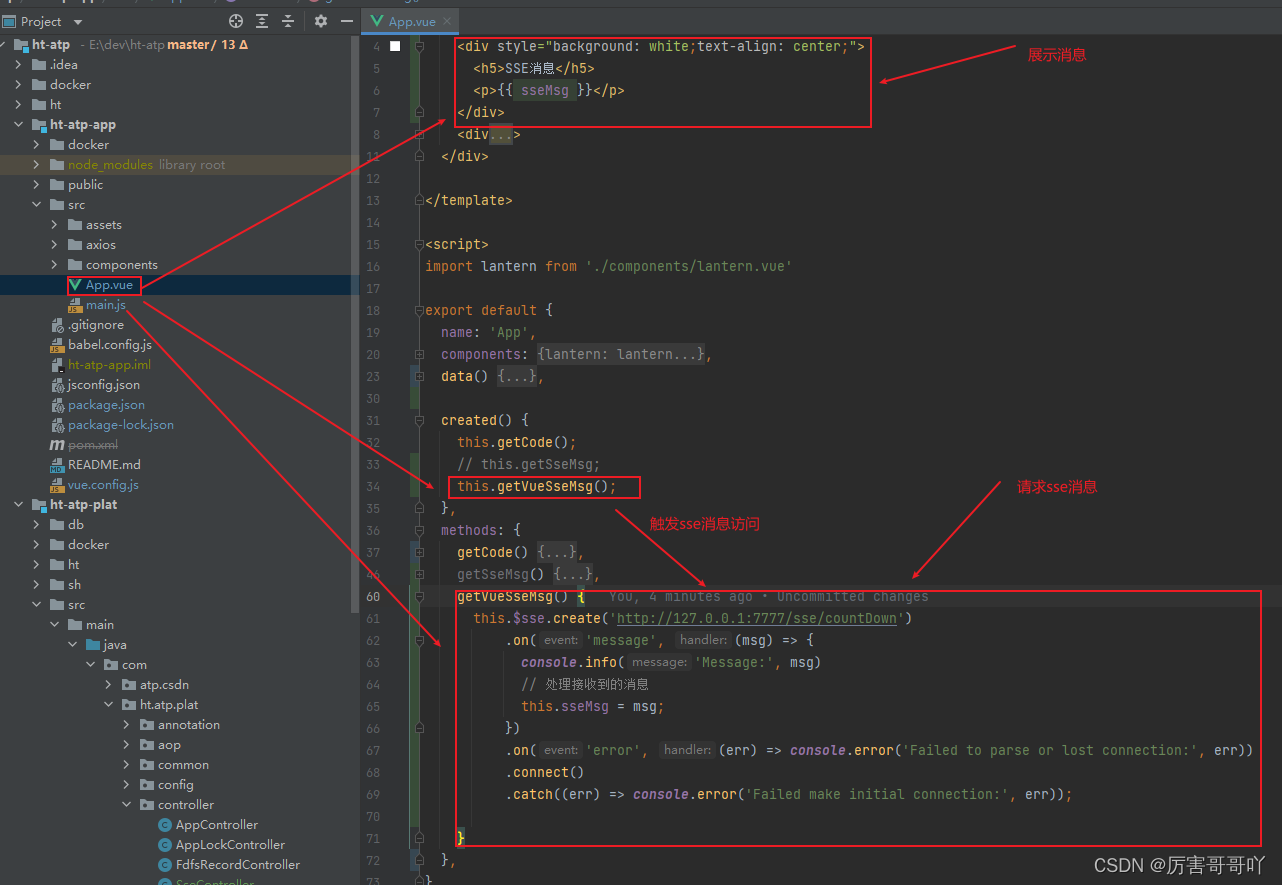
⑦ 使用vue-sse创建一个客户端demo
<template><div id="app"><div style="background: white;text-align: center;"><h5>SSE消息</h5><p>{{ sseMsg }}</p></div></div></template><script>export default {name: 'App',data() {return {sseMsg: '',}},created() {this.getVueSseMsg();},methods: {getVueSseMsg() {this.$sse.create('http://127.0.0.1:7777/sse/countDown').on('message', (msg) => {console.info('Message:', msg)// 处理接收到的消息this.sseMsg = msg;}).on('error', (err) => console.error('Failed to parse or lost connection:', err)).connect().catch((err) => console.error('Failed make initial connection:', err));}},
}
</script>
<style>
body {margin: 0px;padding: 0px;
}#app {-webkit-background-size: cover;-o-background-size: cover;background-size: cover;margin: 0 auto;height: 100%;
}
</style>
⑧查看实现效果
springboot webflux项目实现SSE案例
①创建一个SSE的接口SseController实现服务数据推送
package com.yundi.atp.controller;import io.swagger.v3.oas.annotations.Operation;
import io.swagger.v3.oas.annotations.tags.Tag;
import org.springframework.http.MediaType;
import org.springframework.http.codec.ServerSentEvent;
import org.springframework.web.bind.annotation.GetMapping;
import org.springframework.web.bind.annotation.RequestMapping;
import org.springframework.web.bind.annotation.RestController;
import reactor.core.publisher.Flux;
import reactor.util.function.Tuples;import java.time.Duration;@Tag(name = "事件流", description = "事件流")
@RestController
@RequestMapping("/sse")
public class SseController {private int count_down_sec = 3 * 60 * 60;@Operation(summary = "获取倒计时数据", description = "获取倒计时数据")@GetMapping(value = "/countDown", produces = MediaType.TEXT_EVENT_STREAM_VALUE)public Flux<ServerSentEvent<Object>> countDown() {Flux<ServerSentEvent<Object>> countDown = Flux.interval(Duration.ofSeconds(1)).map(seq -> Tuples.of(seq, getCountDownSec())).map(data -> ServerSentEvent.builder().event("countDown").id(Long.toString(data.getT1())).data(data.getT2()).build());return countDown;}private String getCountDownSec() {if (count_down_sec > 0) {int h = count_down_sec / (60 * 60);int m = (count_down_sec % (60 * 60)) / 60;int s = (count_down_sec % (60 * 60)) % 60;count_down_sec--;return "活动倒计时:" + h + " 小时 " + m + " 分钟 " + s + " 秒";}return "活动倒计时:0 小时 0 分钟 0 秒";}
}
② 启动项目,使用浏览器访问接口

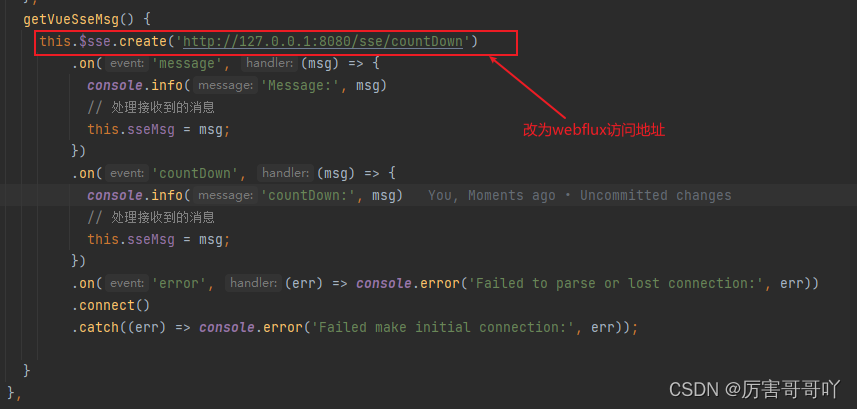
③将vue的客户端消息sse改为webflux项目的地址
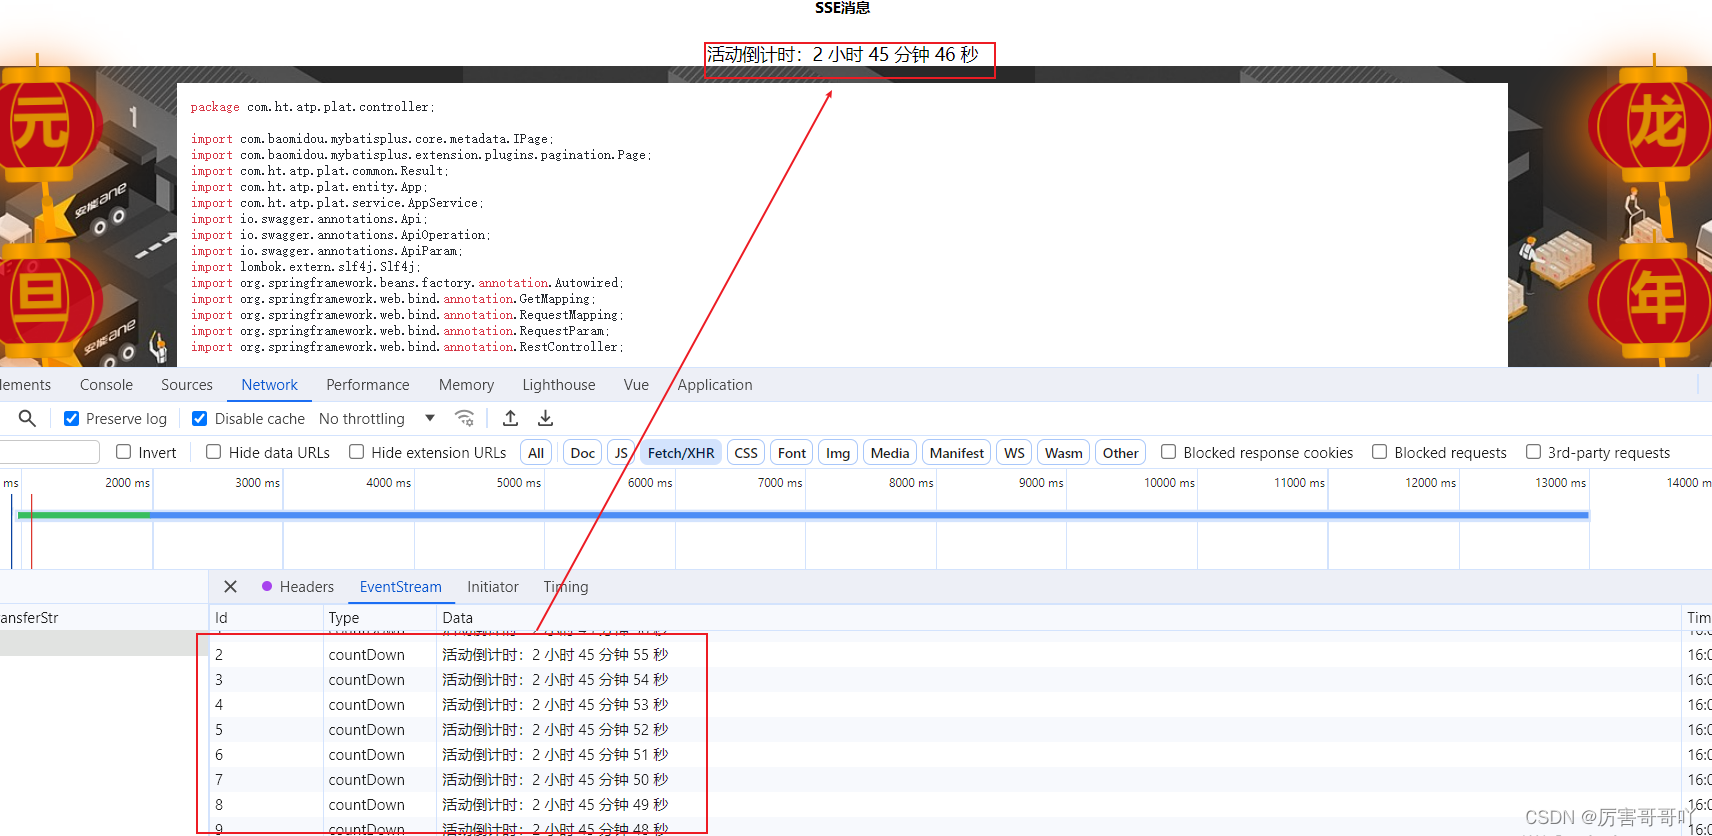
④webflux项目的sse消息效果
结语
本节内容到这里就结束了,我们下期见。。。。。。